As a bug bounty hunter, one of the vulnerabilities that are learned at the beginning of the road is a subdomain takeover. While the concept of it is simple, just register some domain that hasn’t been claimed but it’s being pointed to, the chances of finding one is nowadays difficult due to the automation some have developed. That’s why most people, even though experienced, have never found one. Up until recently, one of those people was me.
The basics for me were clear, I registered the dangling domain and then uploaded a proof of concept (PoC). However, in practice, this turned out to be more difficult than expected and I spent quite a bit of time learning how to upload a PoC to a few different Microsoft Azure services. Seeing there wasn’t too much I could find online and the fact that it can be a bit confusing I decided to write this to help others in that position.
The services I’ll go over were the ones I’ve come across (so far):
- Azure CloudApp:
cloudapp.net. - Azure Websites:
azurewebsites.net. - Azure VM:
cloudapp.azure.com. - Azure TrafficManager:
trafficmanager.net(added on 19/12/2020).
Azure CloudApp
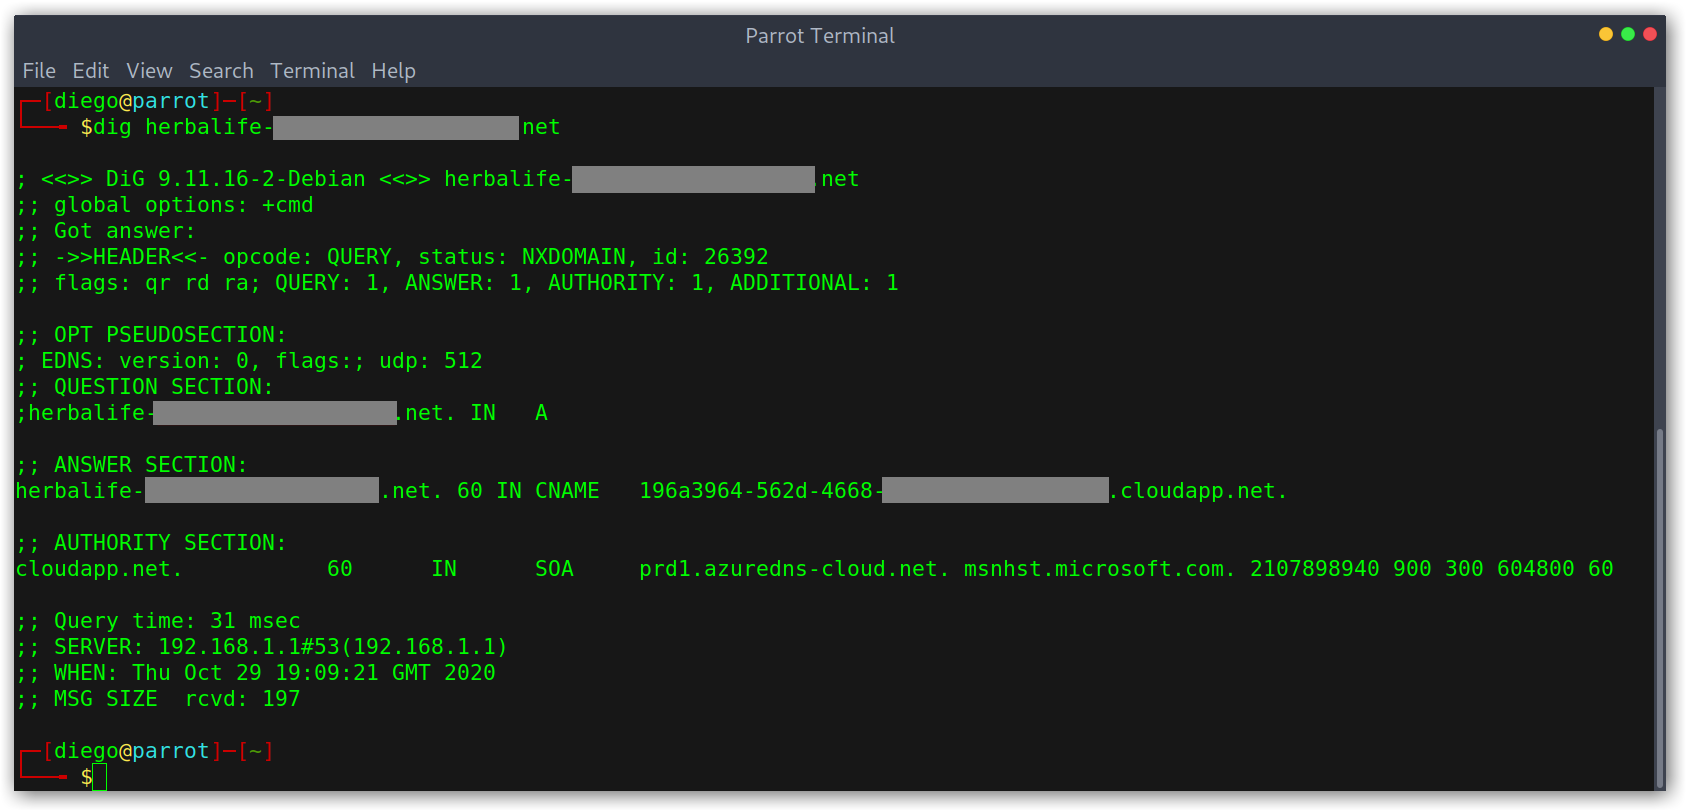
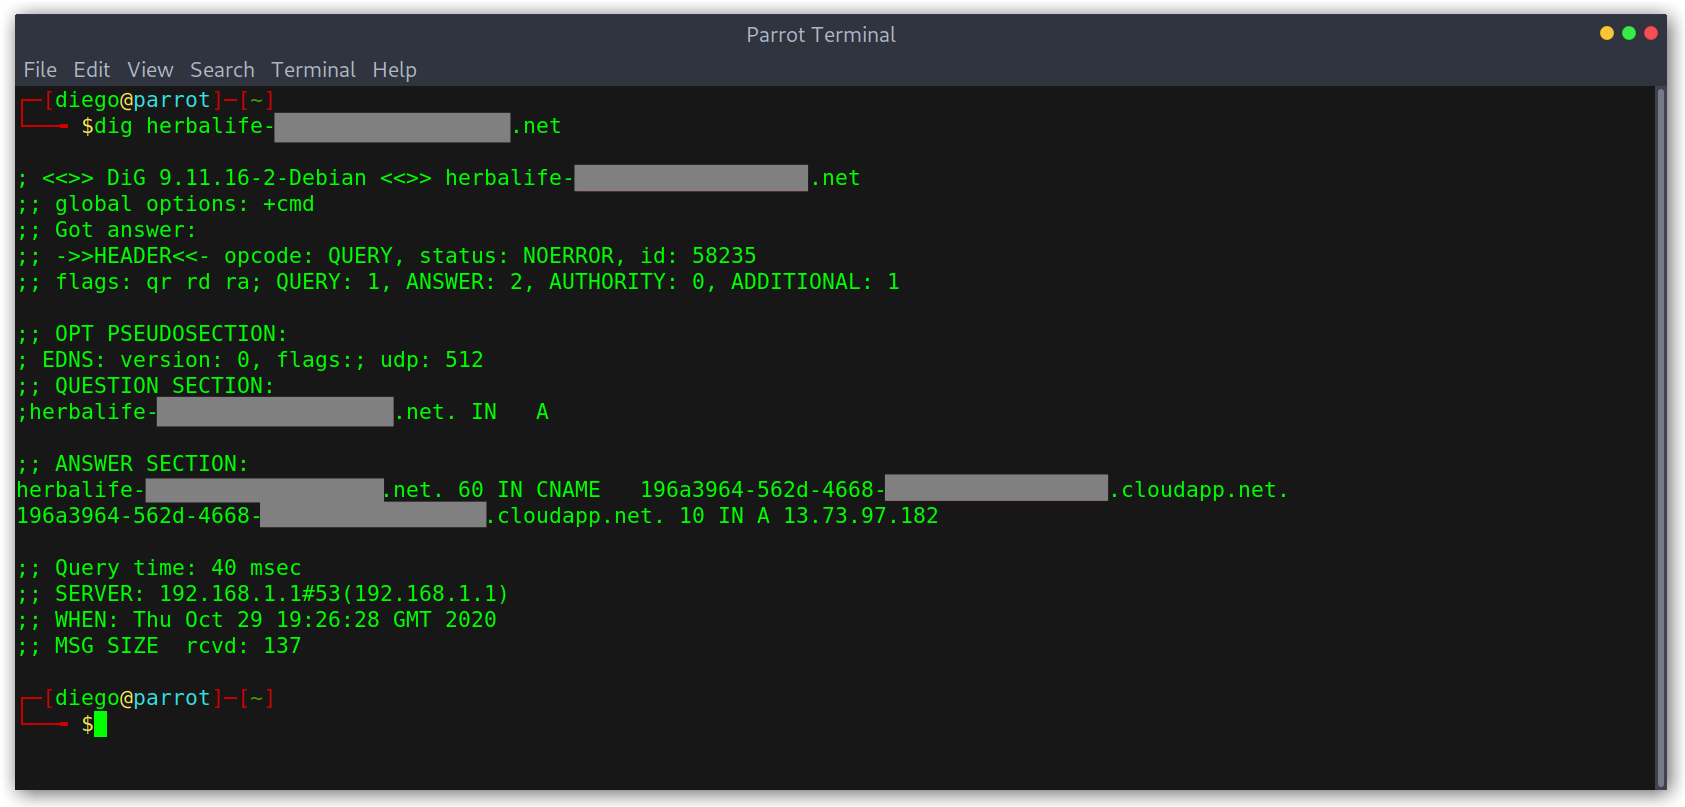
I’ll start with the one I first came across: Azure CloudApp. The first thing I did was validate with dig that the subdomain, which I’ve redacted, points to an Azure CloudApp domain. It can be seen from the output that the CNAME record indeed points to an app that seems to be unclaimed, otherwise the NXDOMAIN status wouldn’t show up at the top.
Using dig to check DNS resolution
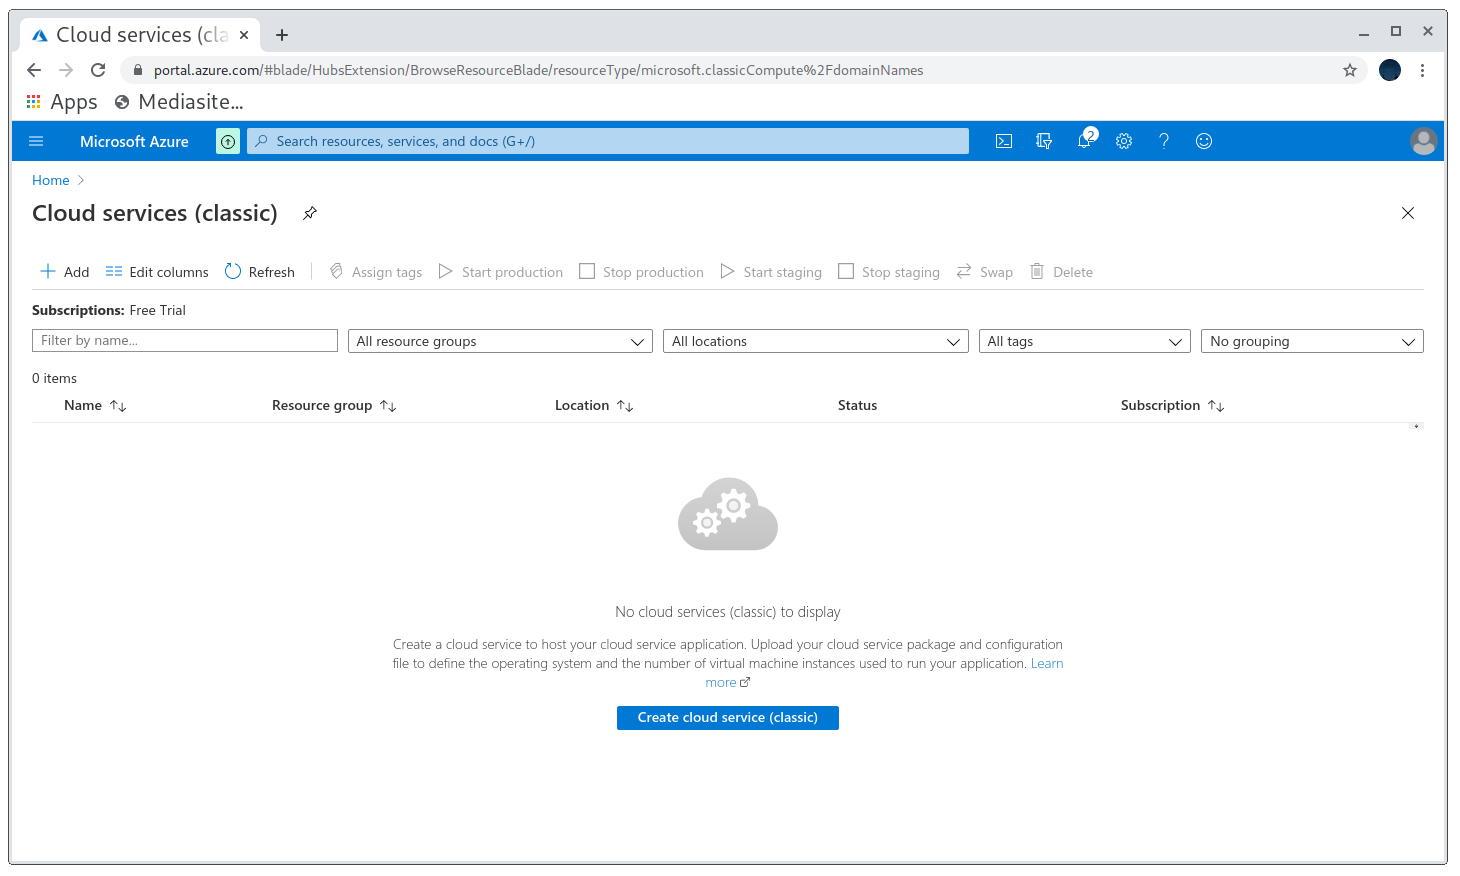
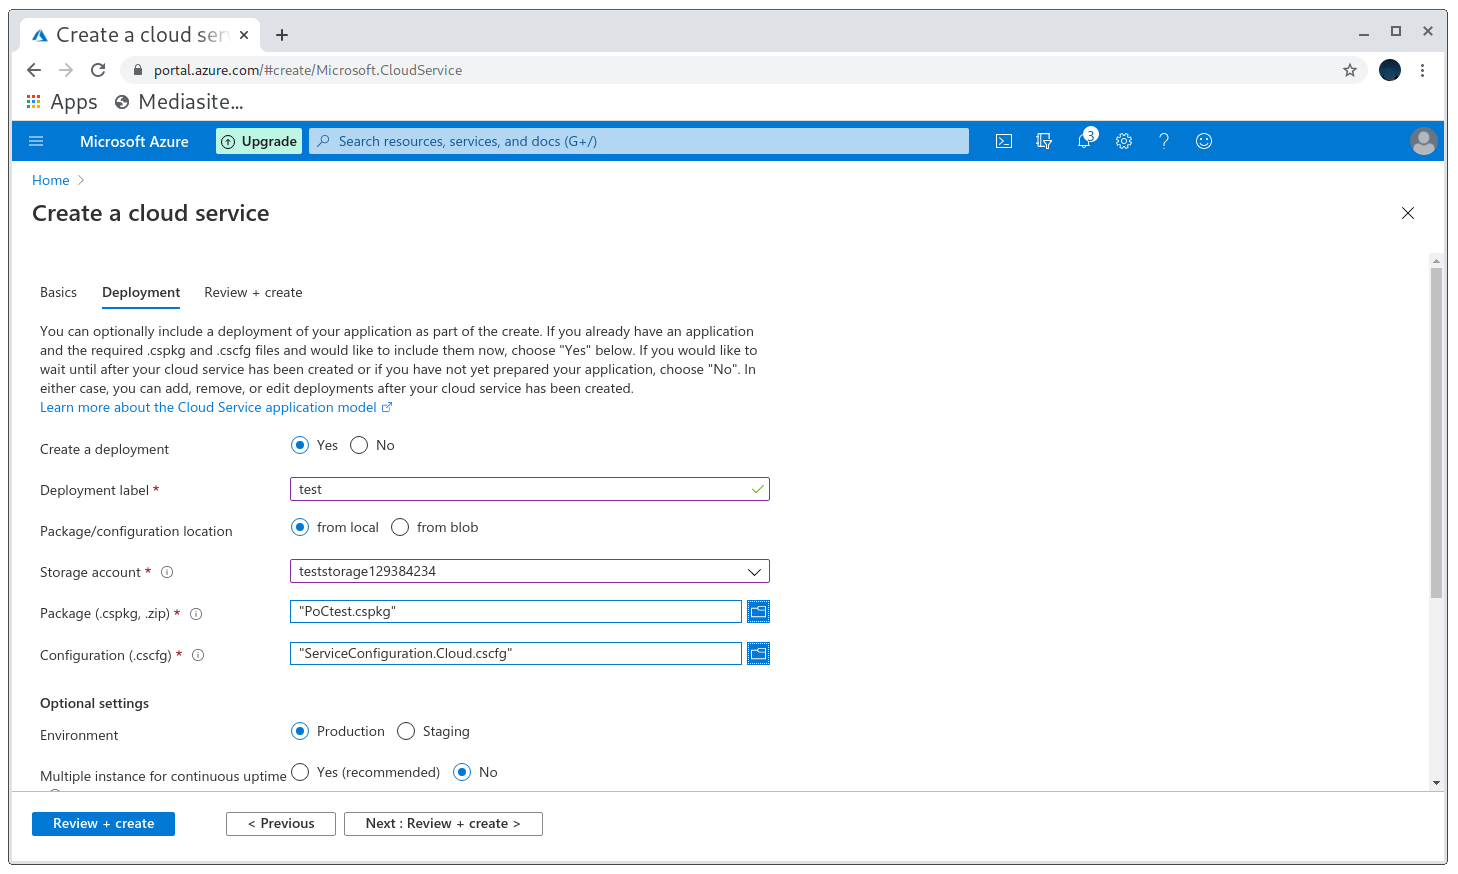
Now I want to go to the Azure portal at https://portal.azure.com/?quickstart=True#create/Microsoft.CloudService and create a new instance, setting the unclaimed domain as the name of my app.
Azure portal Cloud Service dashboard
Registering the unclaimed domain
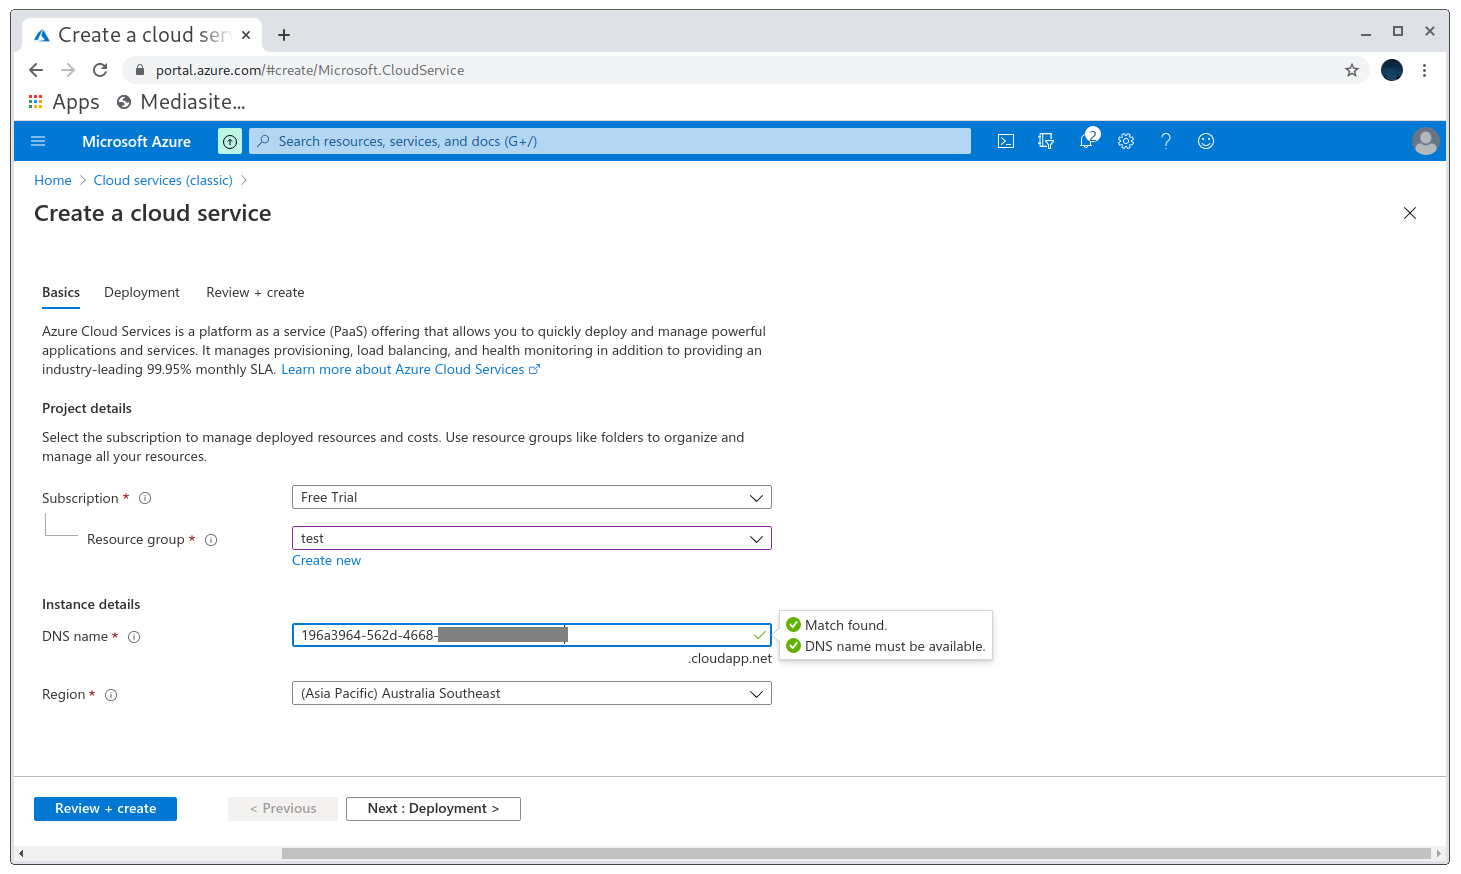
Cool! That means that I can take over the domain.
PoC creation
I couldn’t find much online on how to make a working proof of concept even though it is the most important part, as it helps triagers quickly confirm that the submission is valid. Eventually, I found this website, https://www.c-sharpcorner.com, that had two articles with what I was looking for.
- https://www.c-sharpcorner.com/article/azure-cloud-services-create-hello-world-cloud-service-using-visual-studio/ is about how to create a simple service using Visual Studio.
- https://www.c-sharpcorner.com/article/azure-cloud-service-create-package-using-visual-studio/ explains how to package the service into the two files required by Azure.
After following the posts I had my .cspkg and .cscfg files to upload. First I created a storage account and then I was able to deploy the app!
Deployment successful

Now that I’ve created the subdomain dig shows an extra line with the IP of my application and I no longer get NXDOMAIN, but NOERROR.
Proving the takeover with dig
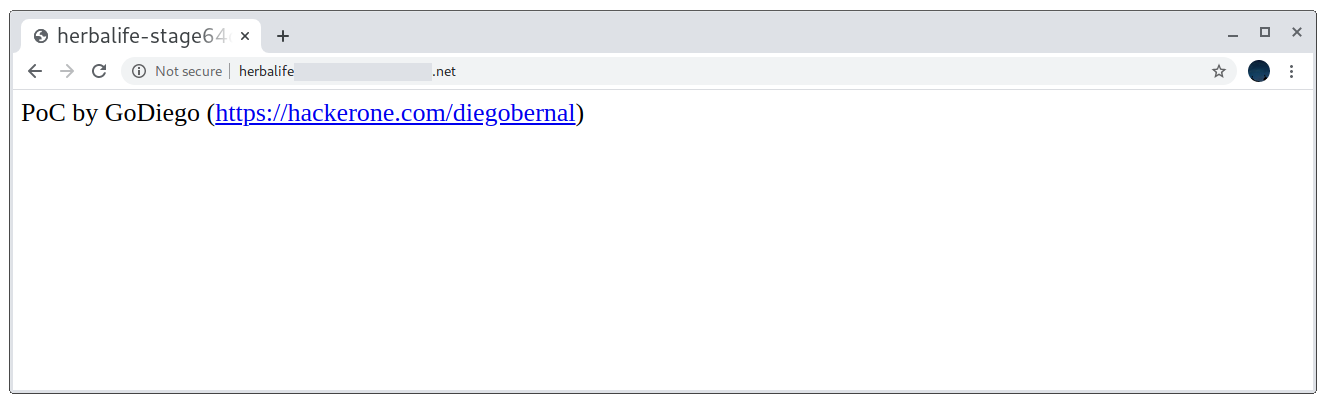
Finally, I can just visit the vulnerable subdomain and see my proof of concept works:
PoC on the subdomain
A good idea when reporting these kinds of vulnerabilities is to also save a snapshot of the subdomain with the Wayback Machine, that way once the report gets triaged I can safely release the subdomain (Azure is expensive) without fear because I can prove the takeover was possible.
Azure Websites
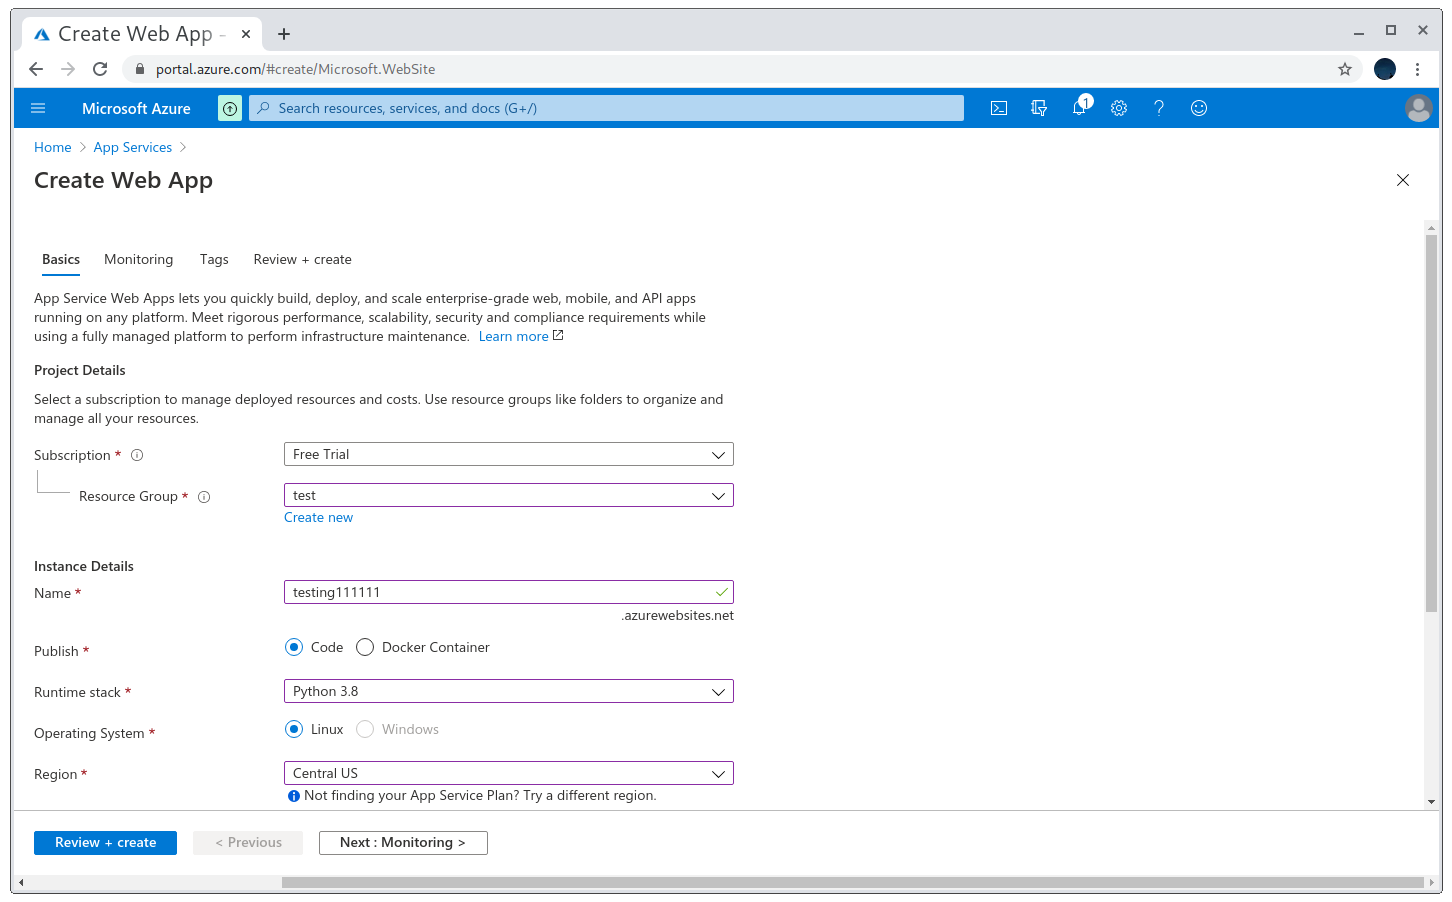
This is another kind of service that can be taken over but in this case we need to watch out for *.azurewebsites.net domains. Let’s say I found a vulnerable subdomain, I’ll call it takeover-subdomain.com that points to testing111111.azurewebsites.net (very creative names, I know). I’ll register the domain in https://hackerone.com/redirect?url=https%3A%2F%2Fportal.azure.com%2F%23create%2FMicrosoft.WebSite. However, this time notice I need to specify a runtime stack and a region: I chose Python and the region doesn’t matter too much.
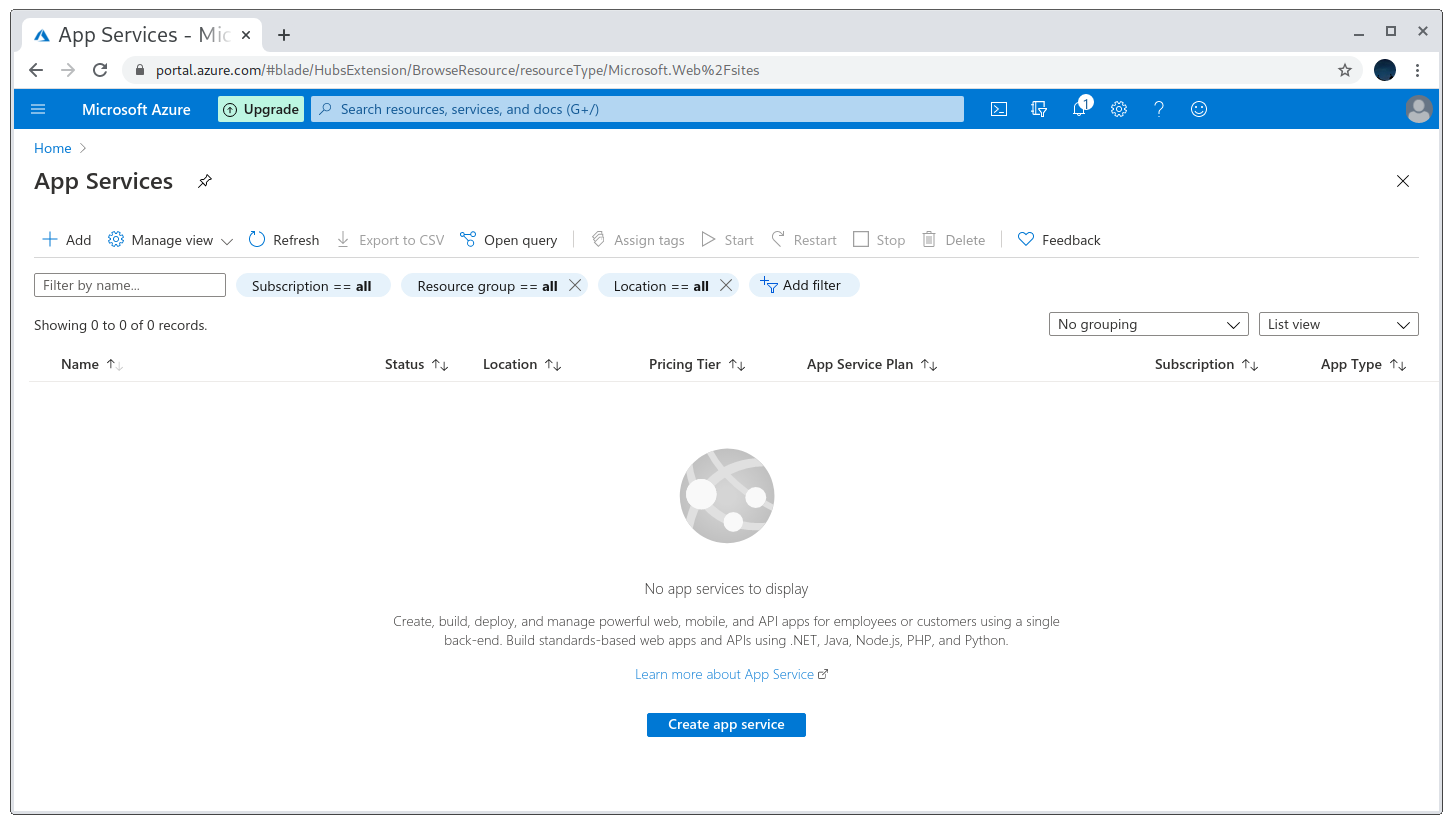
Azure portal Websites Service dashboard
Registering the unclaimed domain
Registration successful
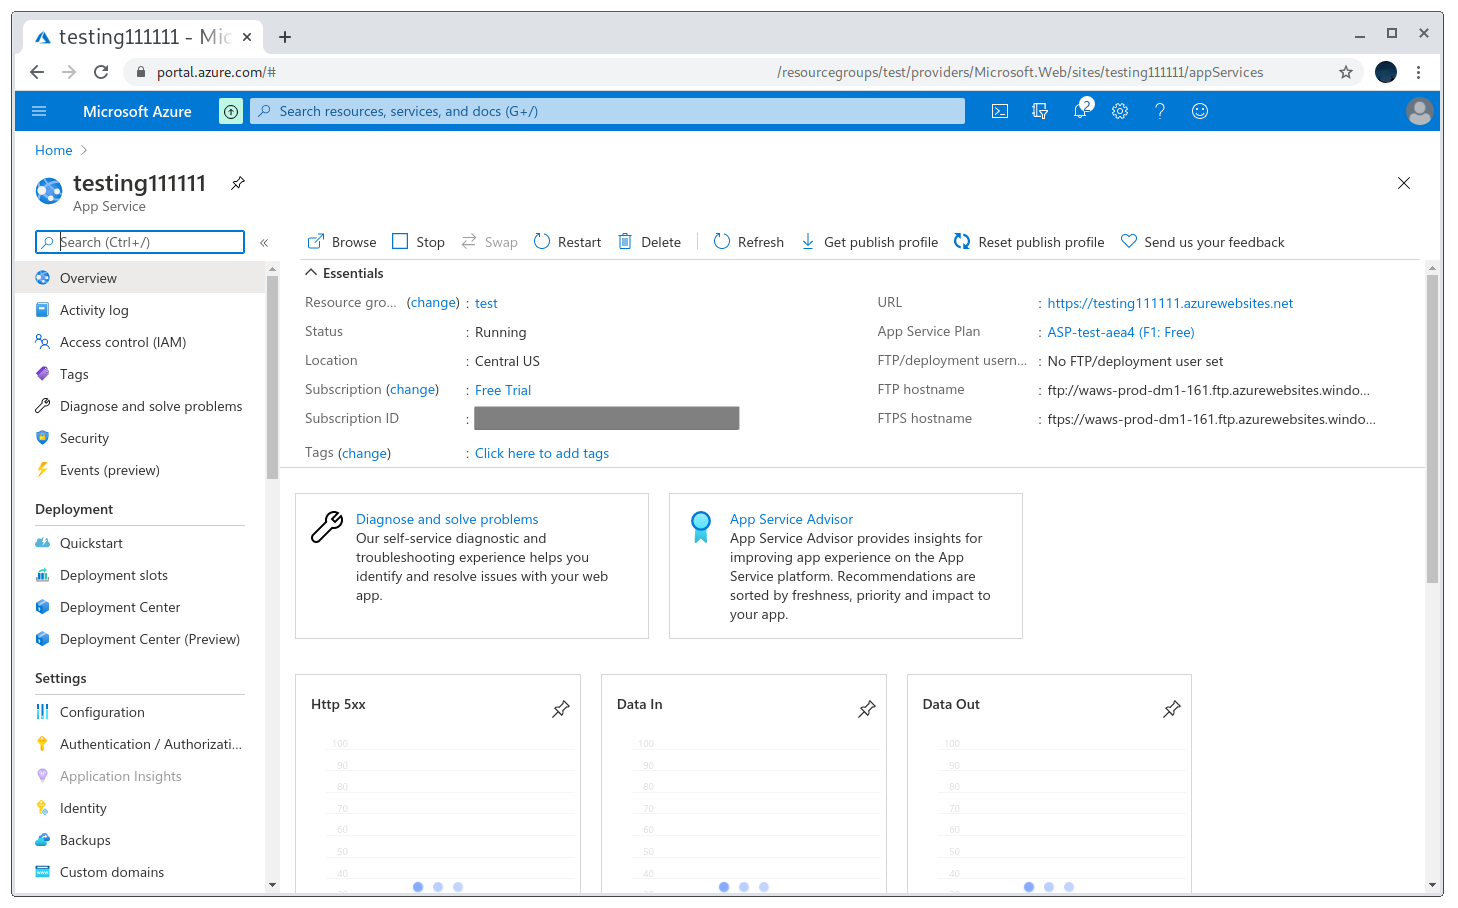
Cool, so now I have the service running and need to deploy the PoC.
PoC creation
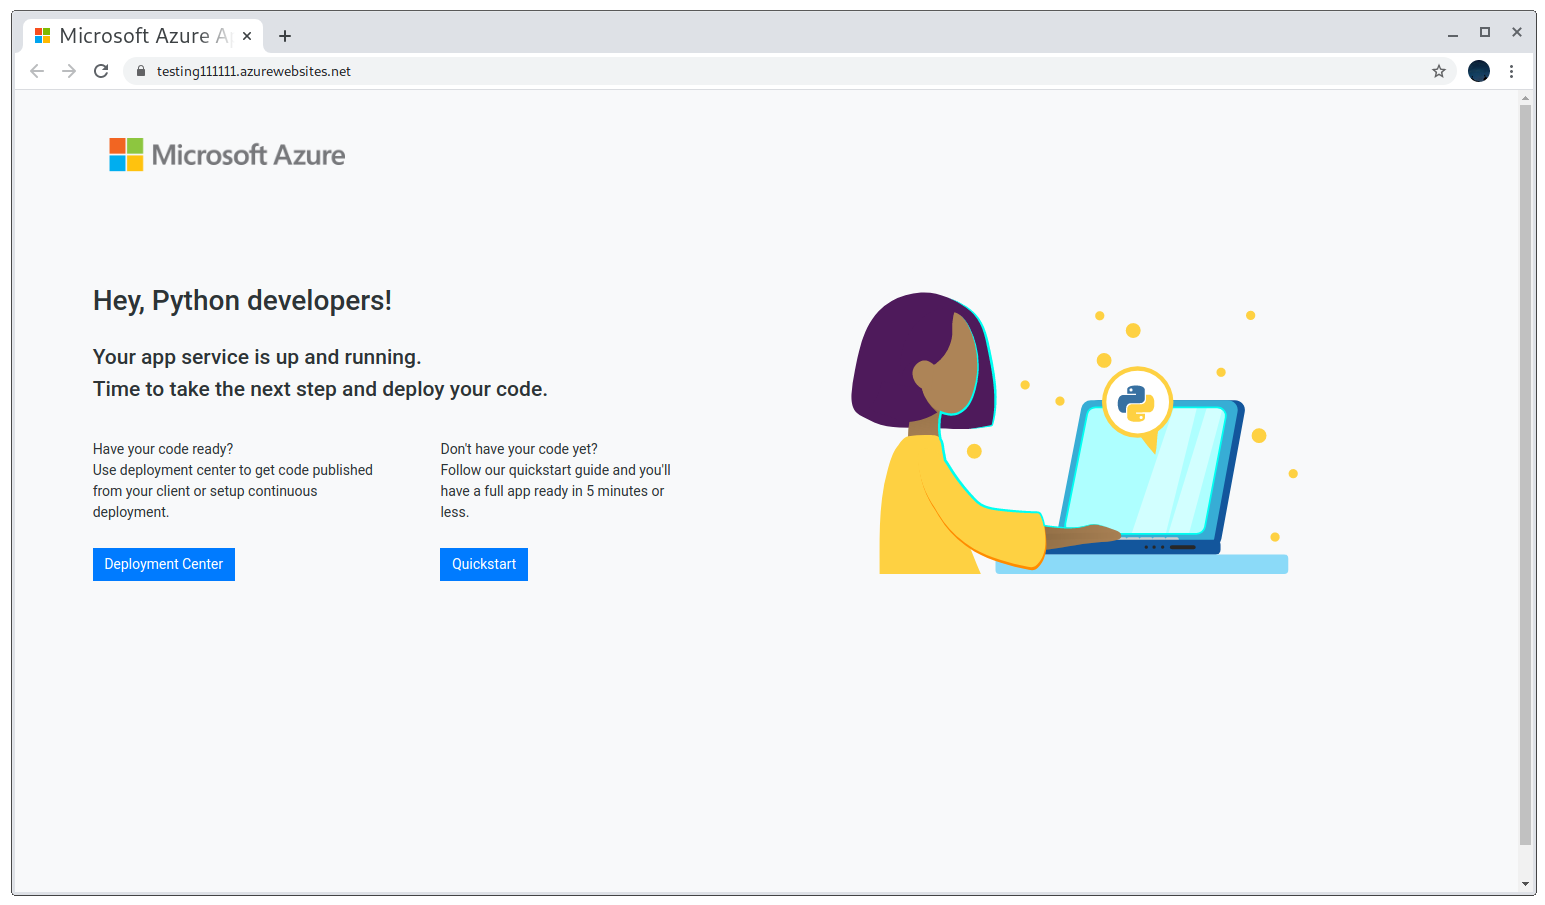
When the domain is taken over I can just access https://testing111111.azurewebsites.net and get the default landing page.
Default page
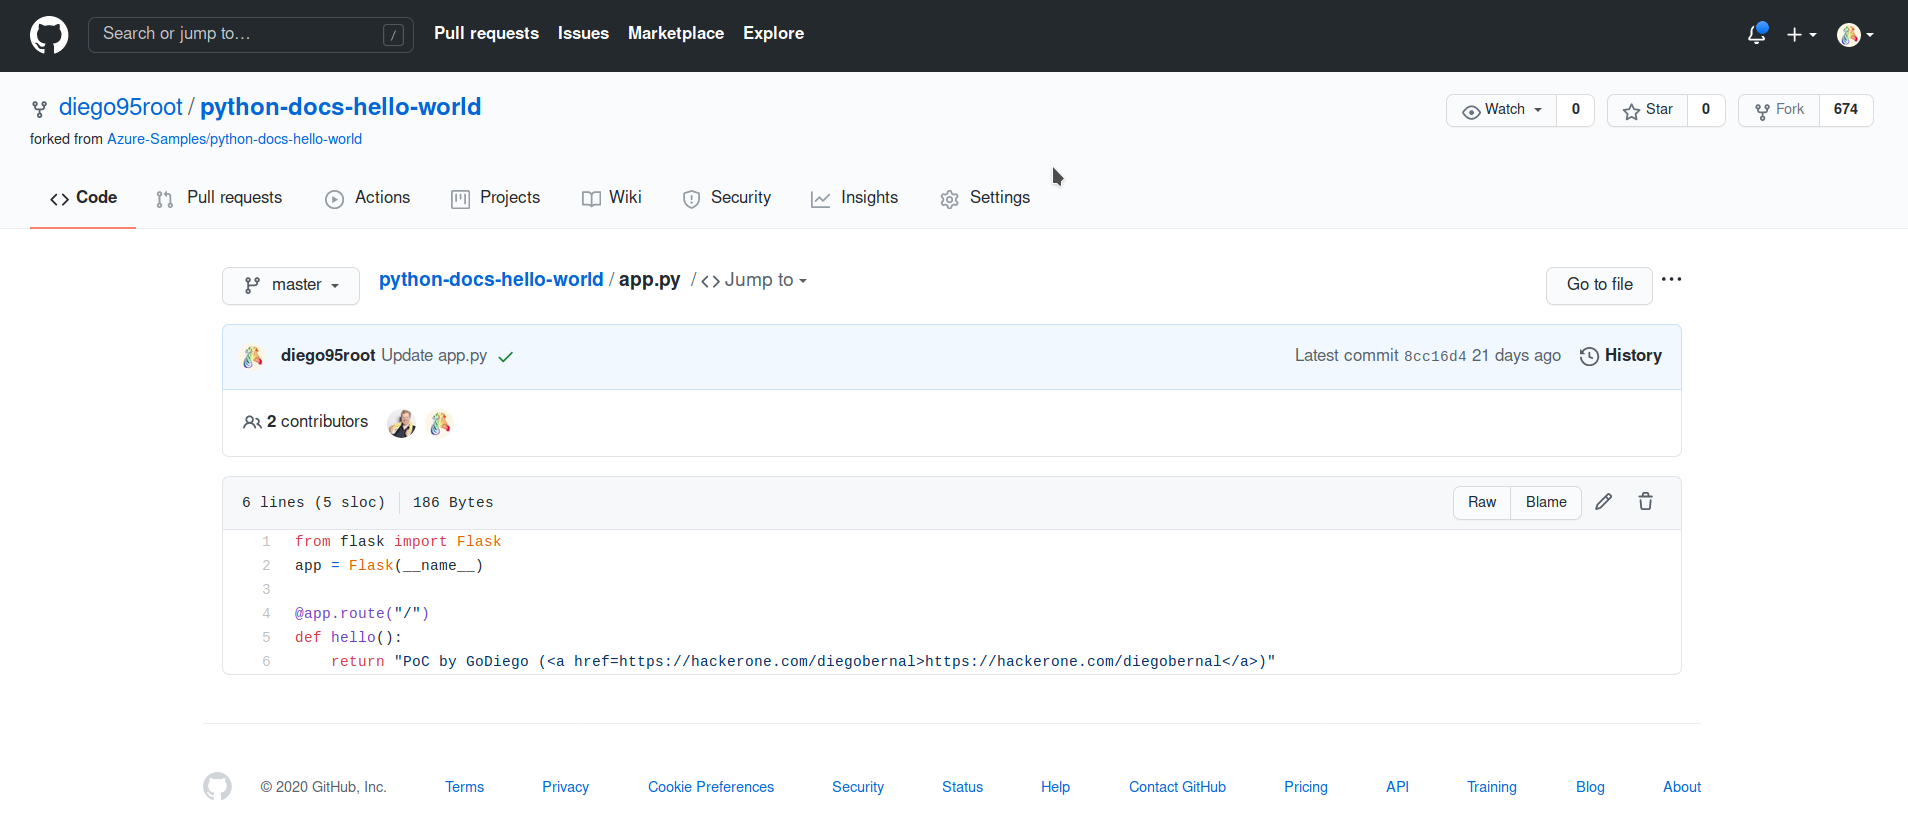
To create this proof of concept I just followed the documentation and copied the sample Hello World application from GitHub (check it out on https://github.com/Azure-Samples/python-docs-hello-world), then I edited app.py a bit so it would return my subdomain takeover template.
Simple app.py PoC
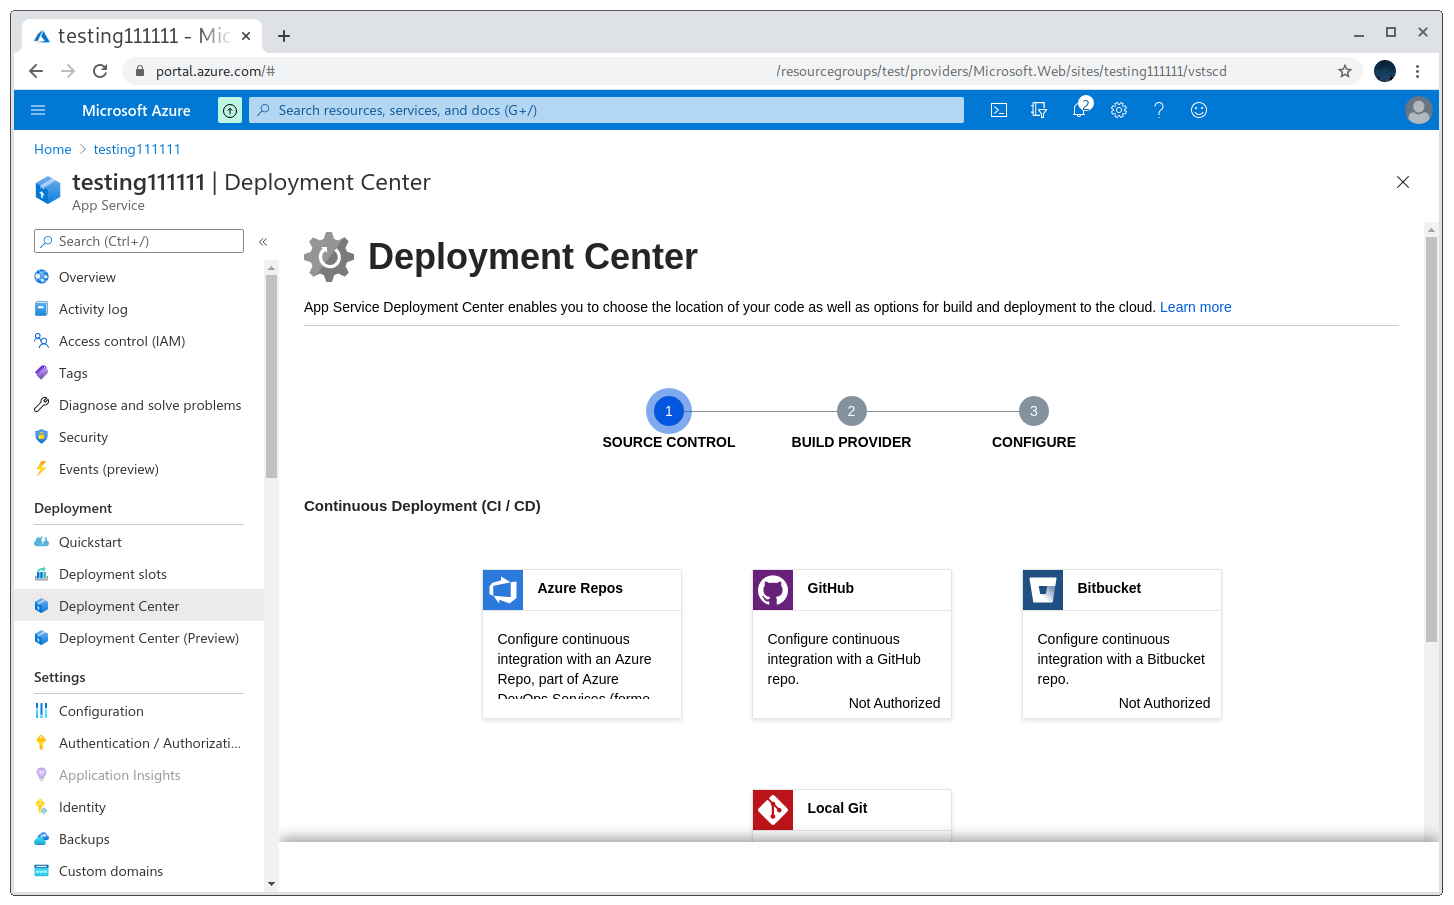
Now to make that run on Azure I just need to go to Deployment center and select GitHub as the CI source. Then after setting up the permissions and giving Azure access the PoC will be running.
Using CI to upload the PoC
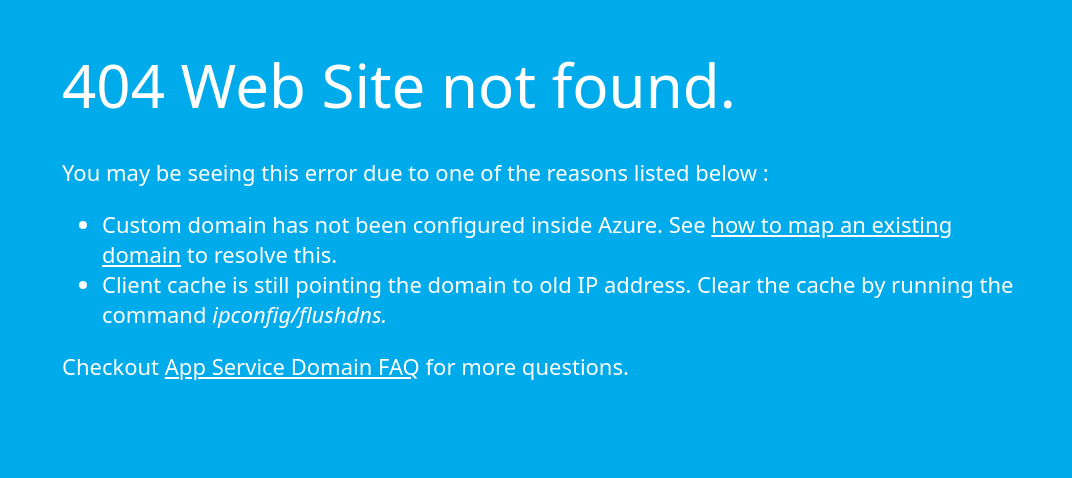
However, the takeover wasn’t so simple and I was getting different responses from the pages: on https://testing111111.azurewebsites.net I got my PoC but on https://takeover-subdomain.com I got the default Azure 404 not found page.
404 page on subdomain
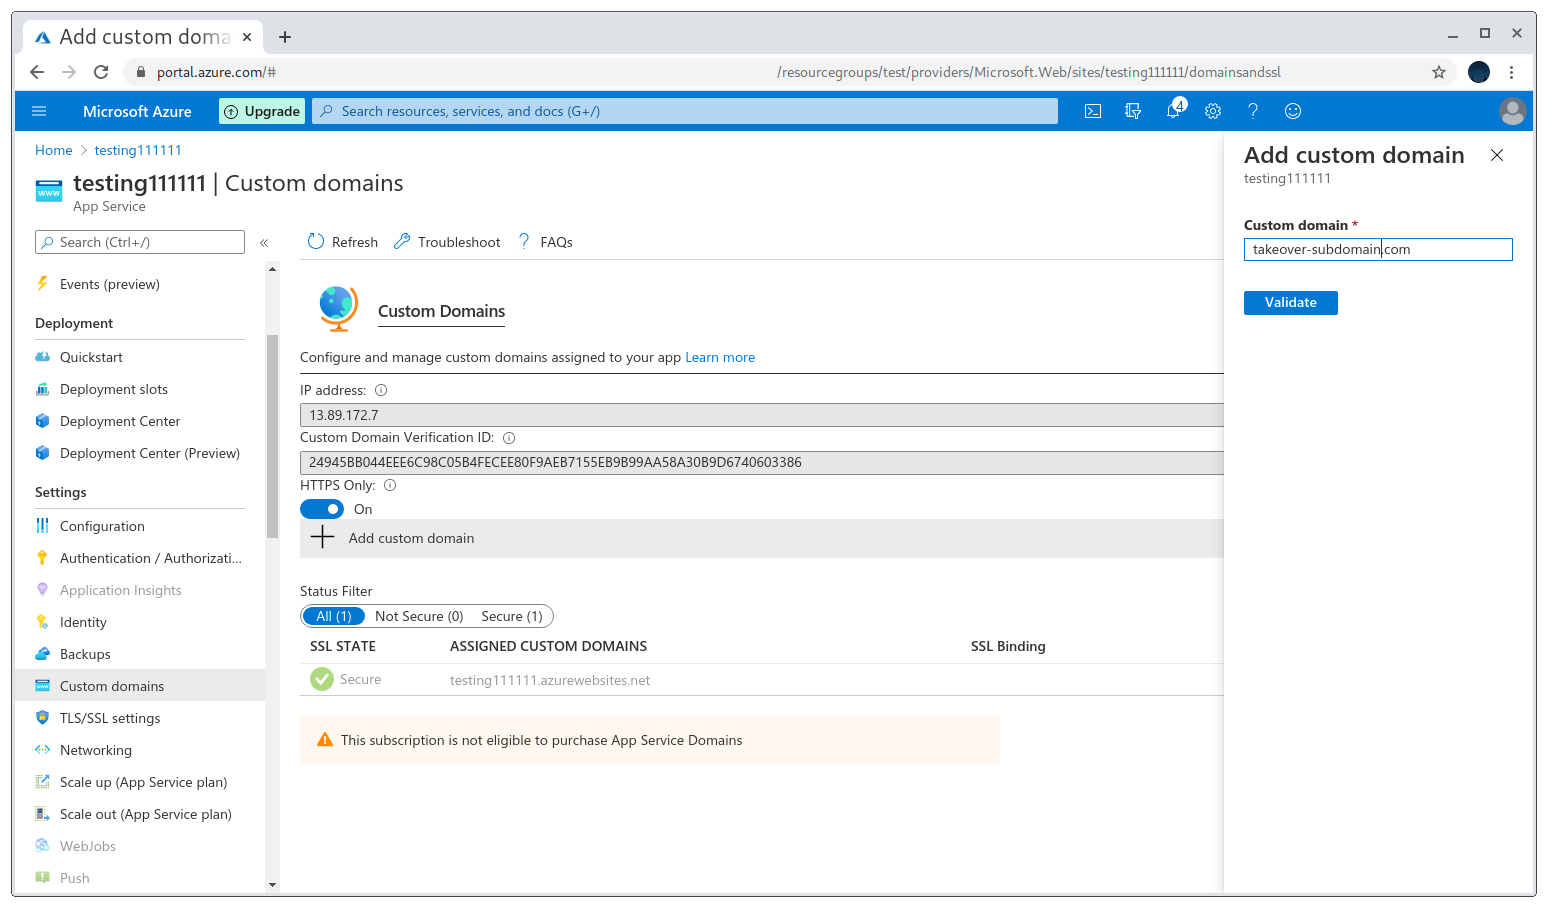
After a bit of playing with it, I found that by setting the Host header when doing curl -H 'testing111111.azurewebsites.net' https://takeover-subdomain.com actually returned my PoC! That meant I needed to set up something else in the Azure dashboard. It turns out that the domain needs to be registered on the Custom domains section of the dashboard. Normally Azure asks for verification using an A or TXT record, however in this case that had already been done by the company so I just needed to add it.
Setting up a custom domain
Doing that solved the issue and I get a PoC working flawlessly!
Azure VM
This is the easiest one so far, the only caveat about it is that the domains are of the form *.region.cloudapp.azure.com so I need to register a VM in that specific region for the PoC to work. Note that the name of the VM is not the name of the domain I’ll assign to it later, so I can name it as whatever I want.
Registering a new VM
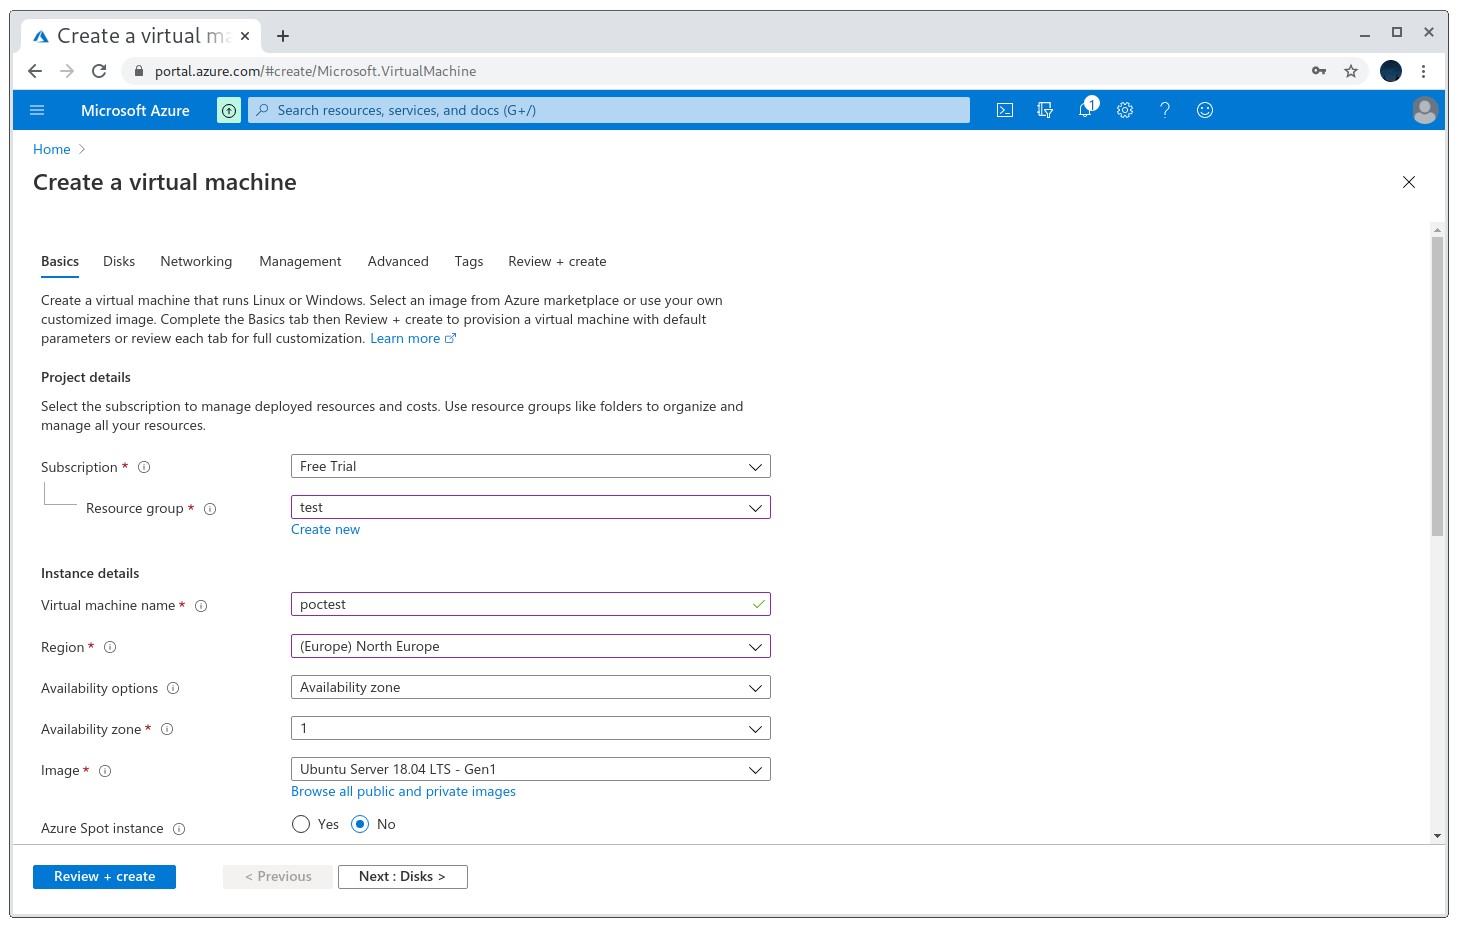

Make sure the selected region is the one the subdomain has, otherwise the takeover won’t work! As for the size, I recommend using the Standard_B1ls, as it’s the cheapest one. Another important detail is to also open ports 80 and 443, as I’ll want to serve the PoC from these ports later.
Registration successful
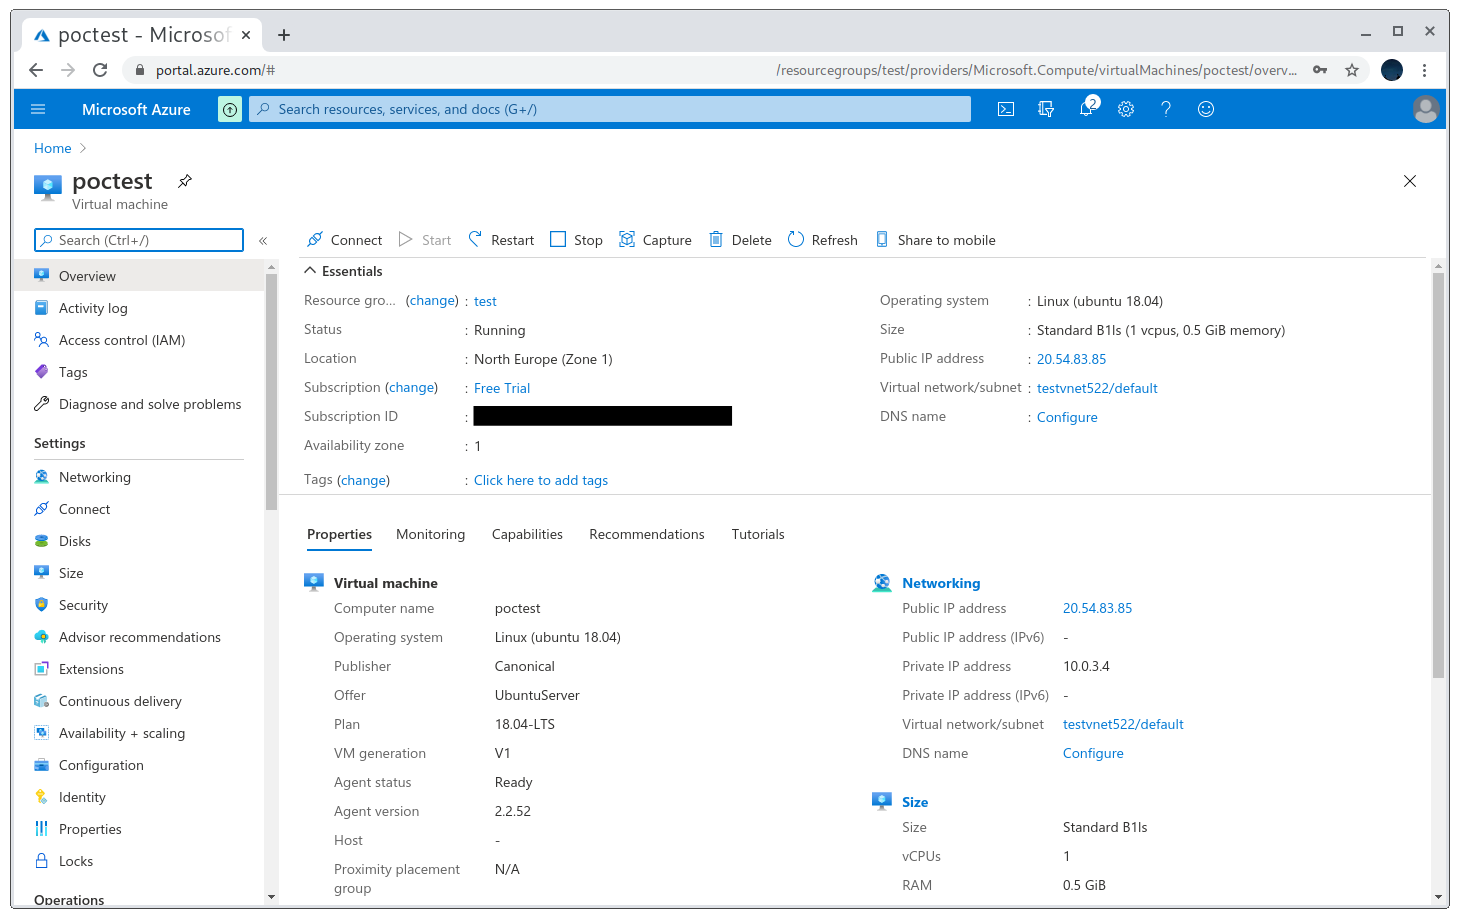
After registering the VM, I need to go to the Configuration section and set our domain name, which is the one that’s pointed to by the subdomain I want to take over.
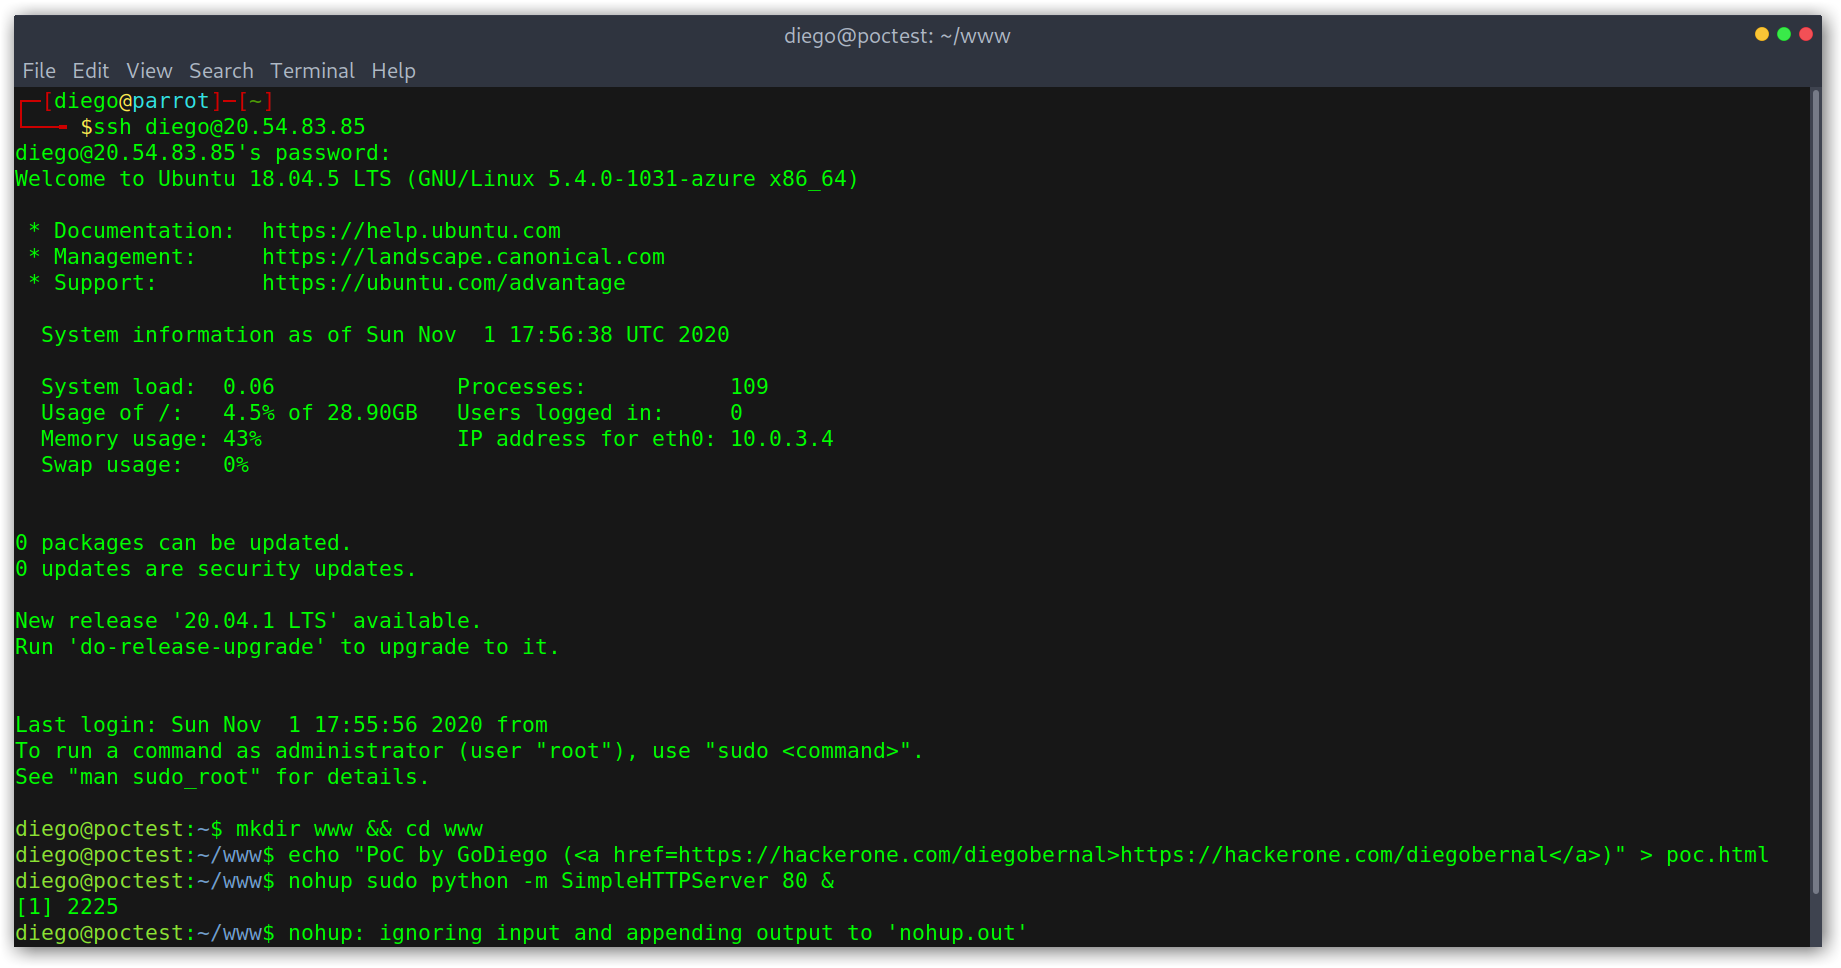
PoC creation
The PoC is simple, just SSH into the VM and create a simple HTML file, then serve it. I found it quicker to just run a simple Python server with nohup to detach it from the SSH session and keep it running.
Registration successful
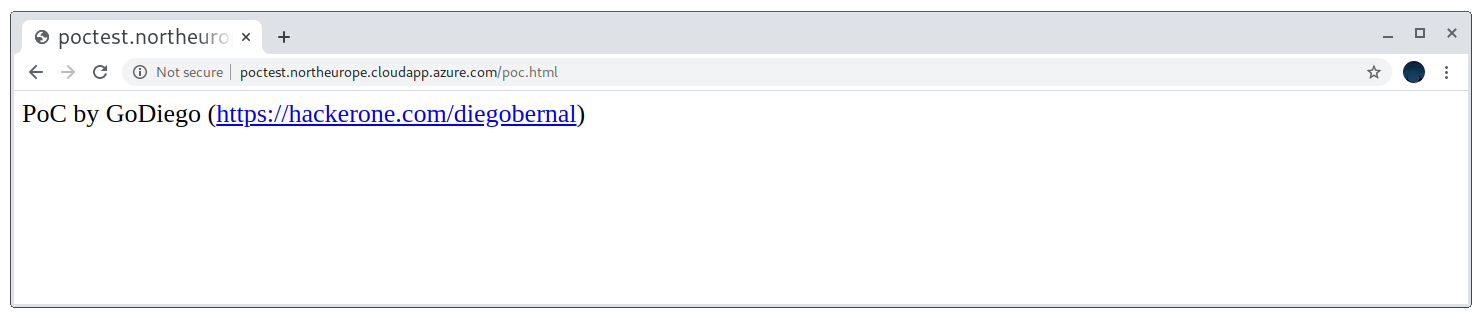
Takeover complete
Azure Trafficmanager
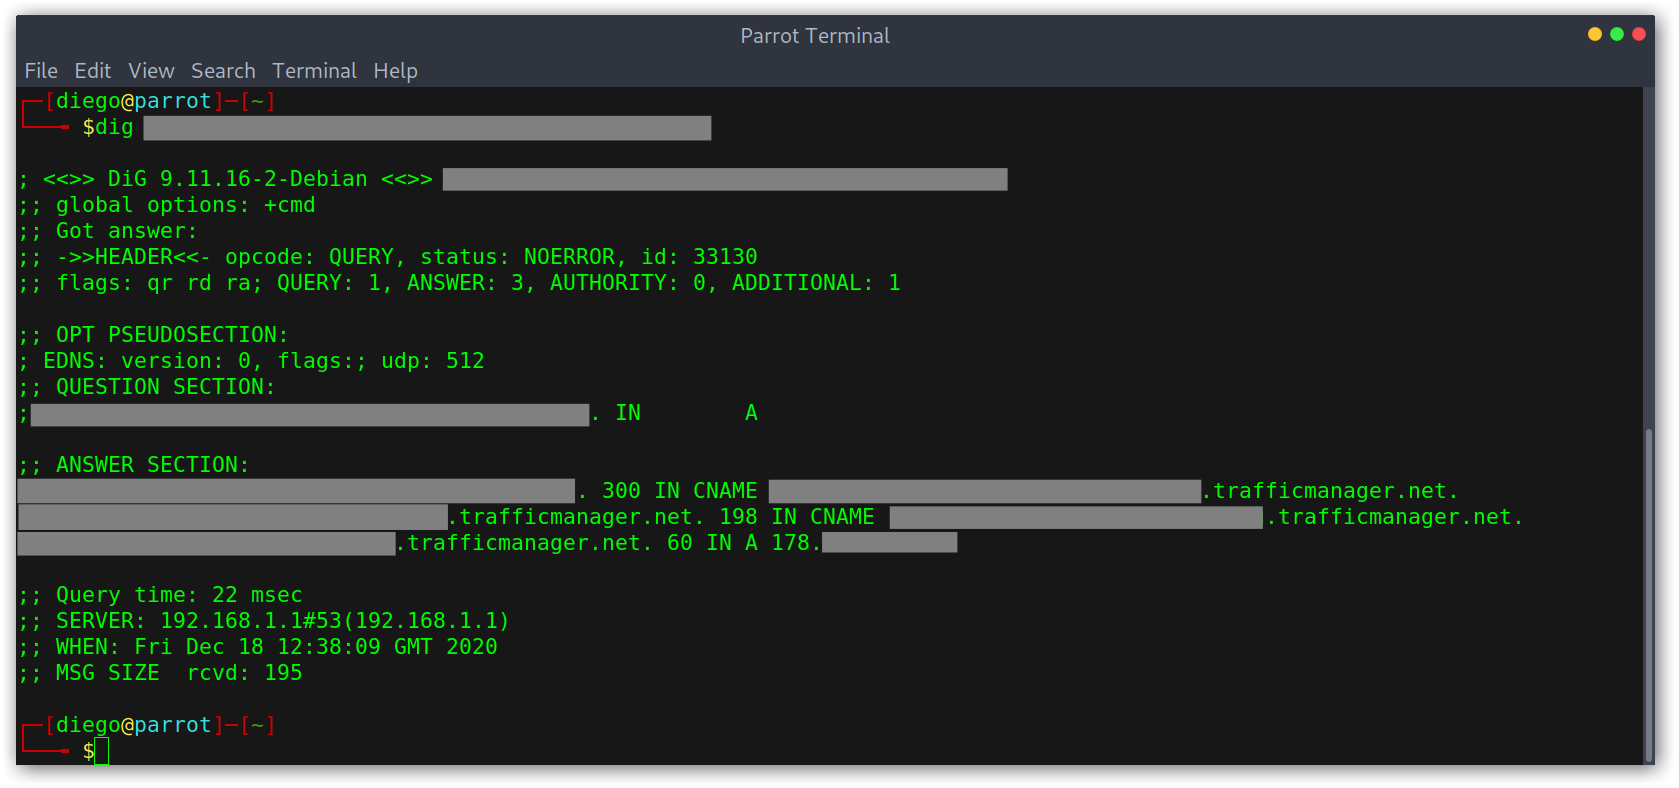
This one is also quite easy actually, we just need to register a new trafficmanager profile with the name that we found on the dangling CNAME record. This is a (redacted) example of a real world case I found:
Using dig to check DNS resolution
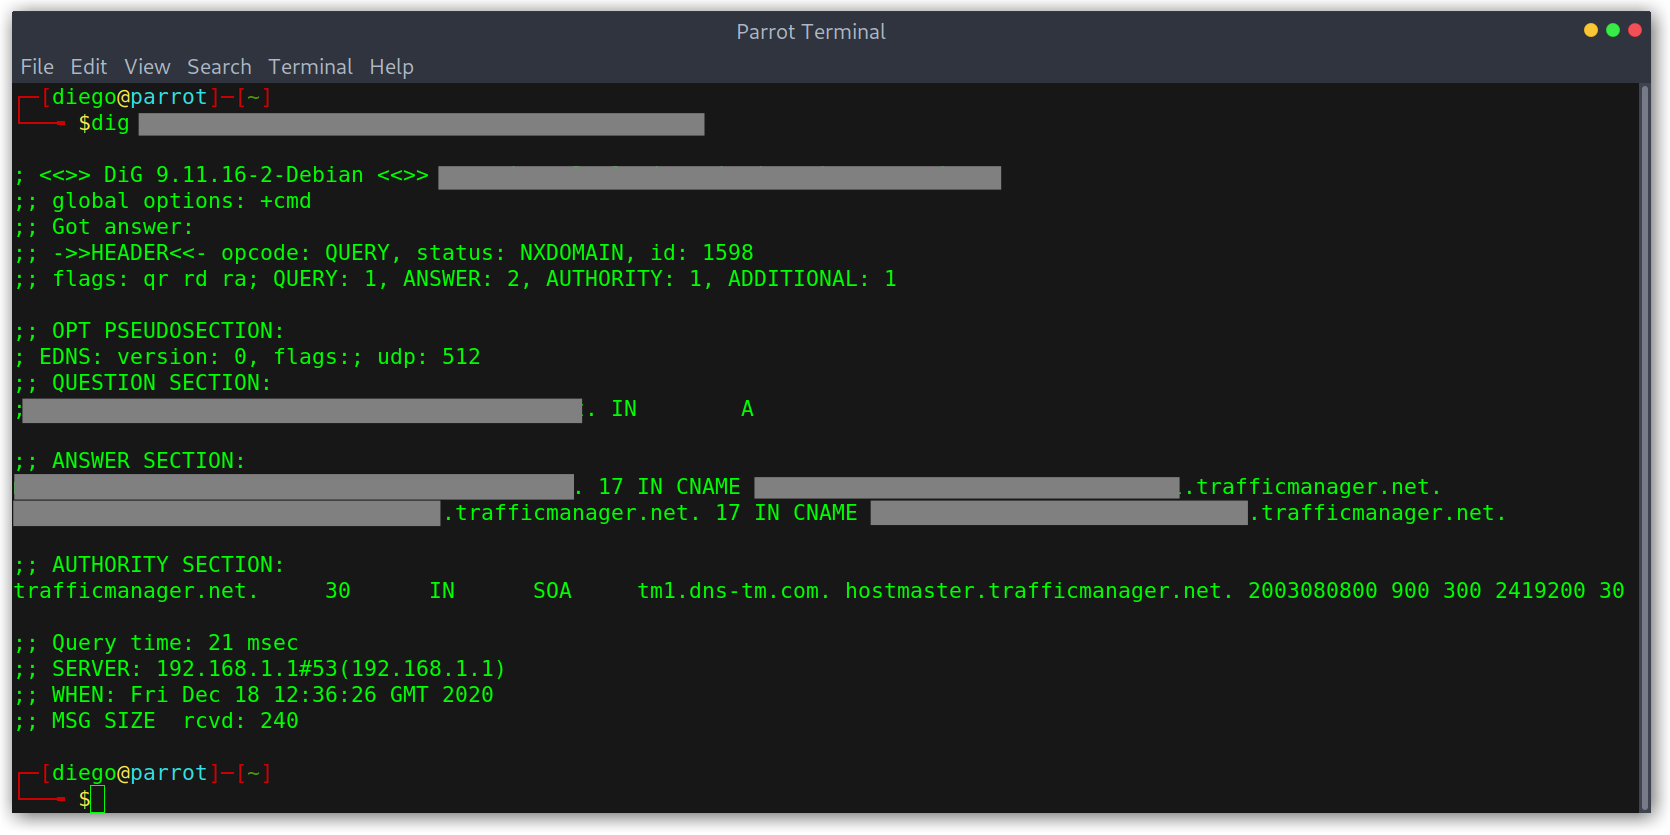
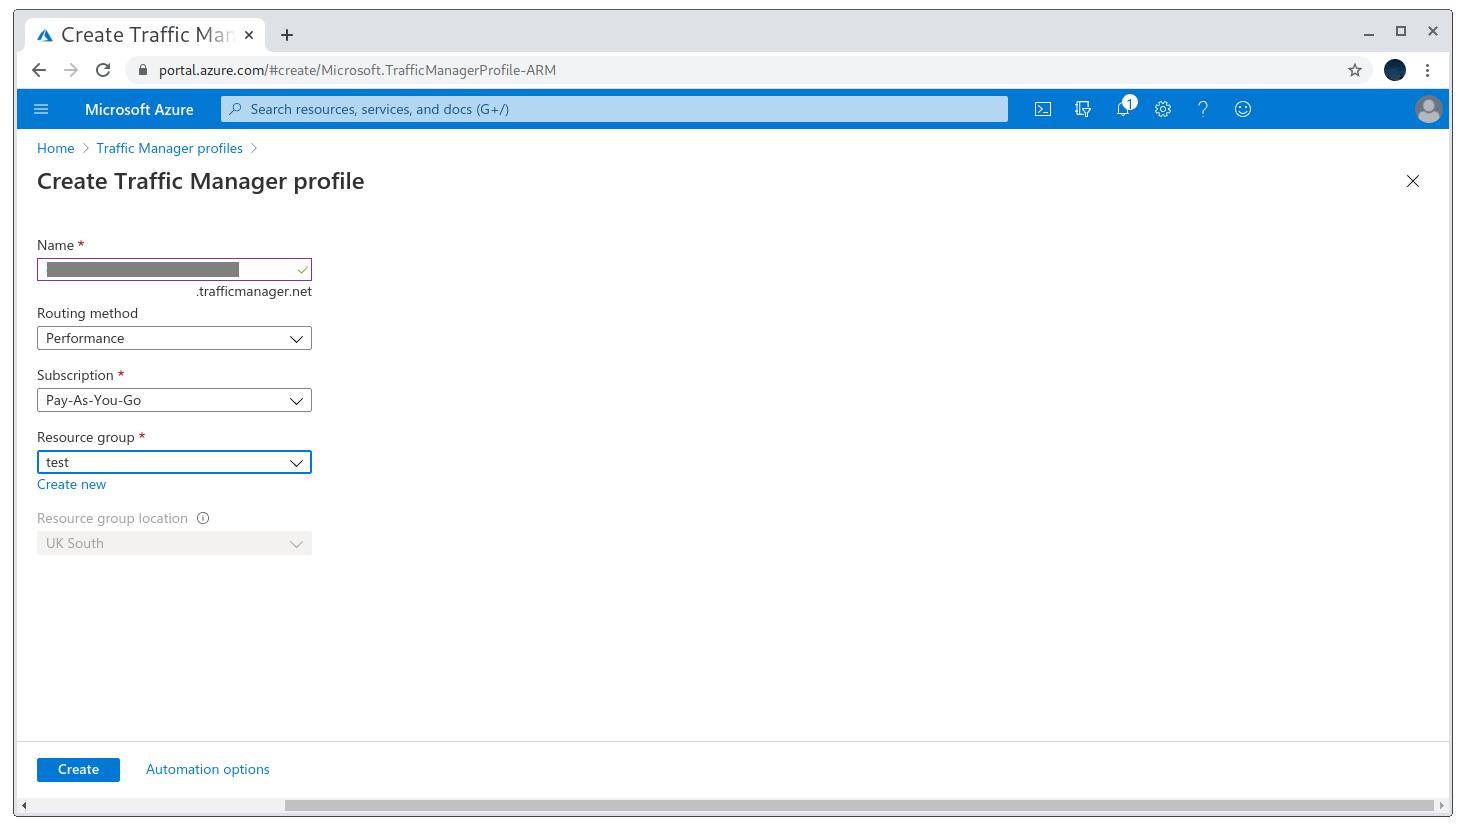
As you can see above, the domain points to a trafficmanager CNAME that doesn’t seem to be registered. To check it, I went to the Azure portal and tried registering it.
Registering the trafficmanager profile
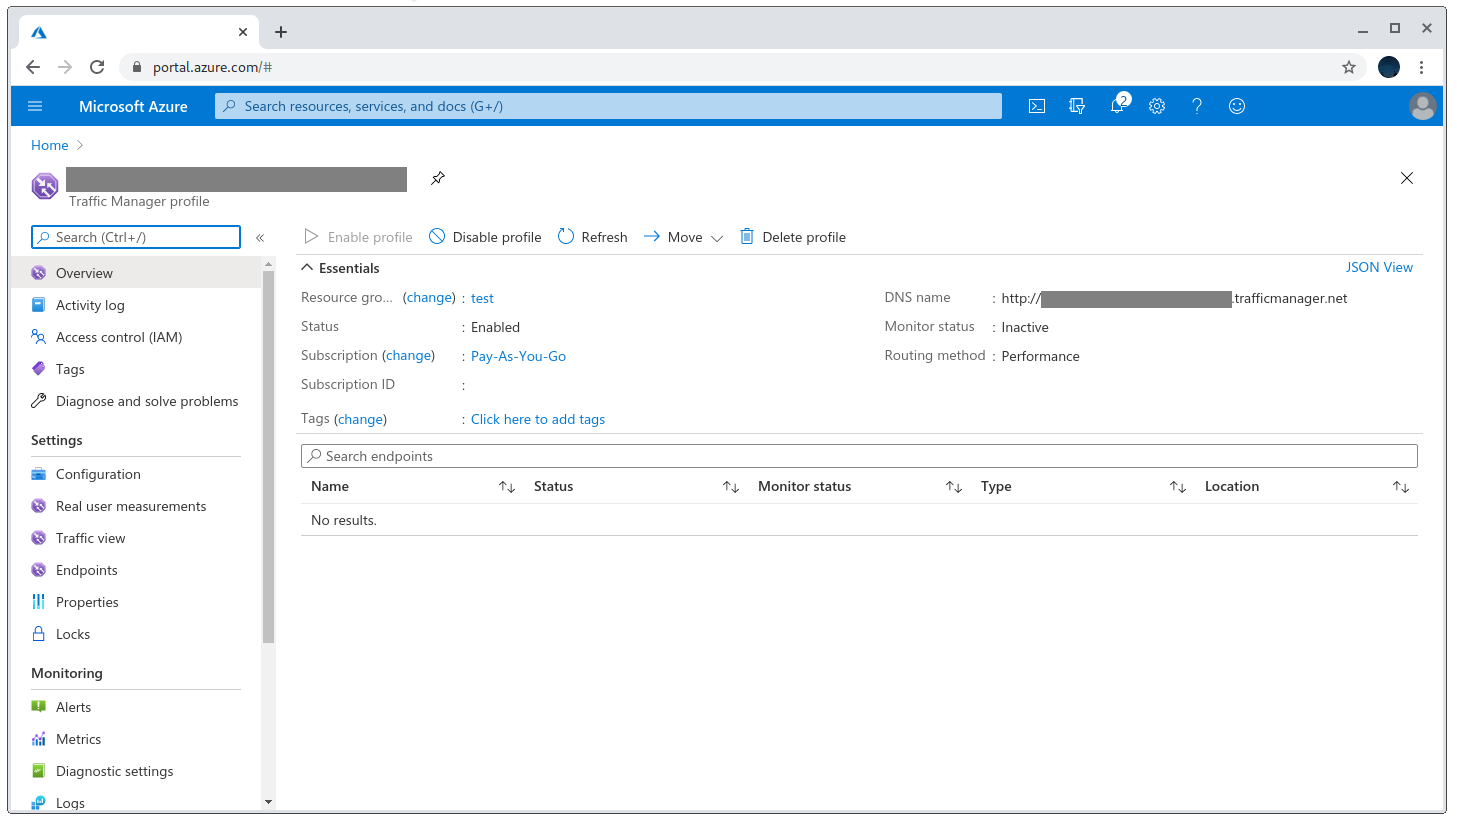
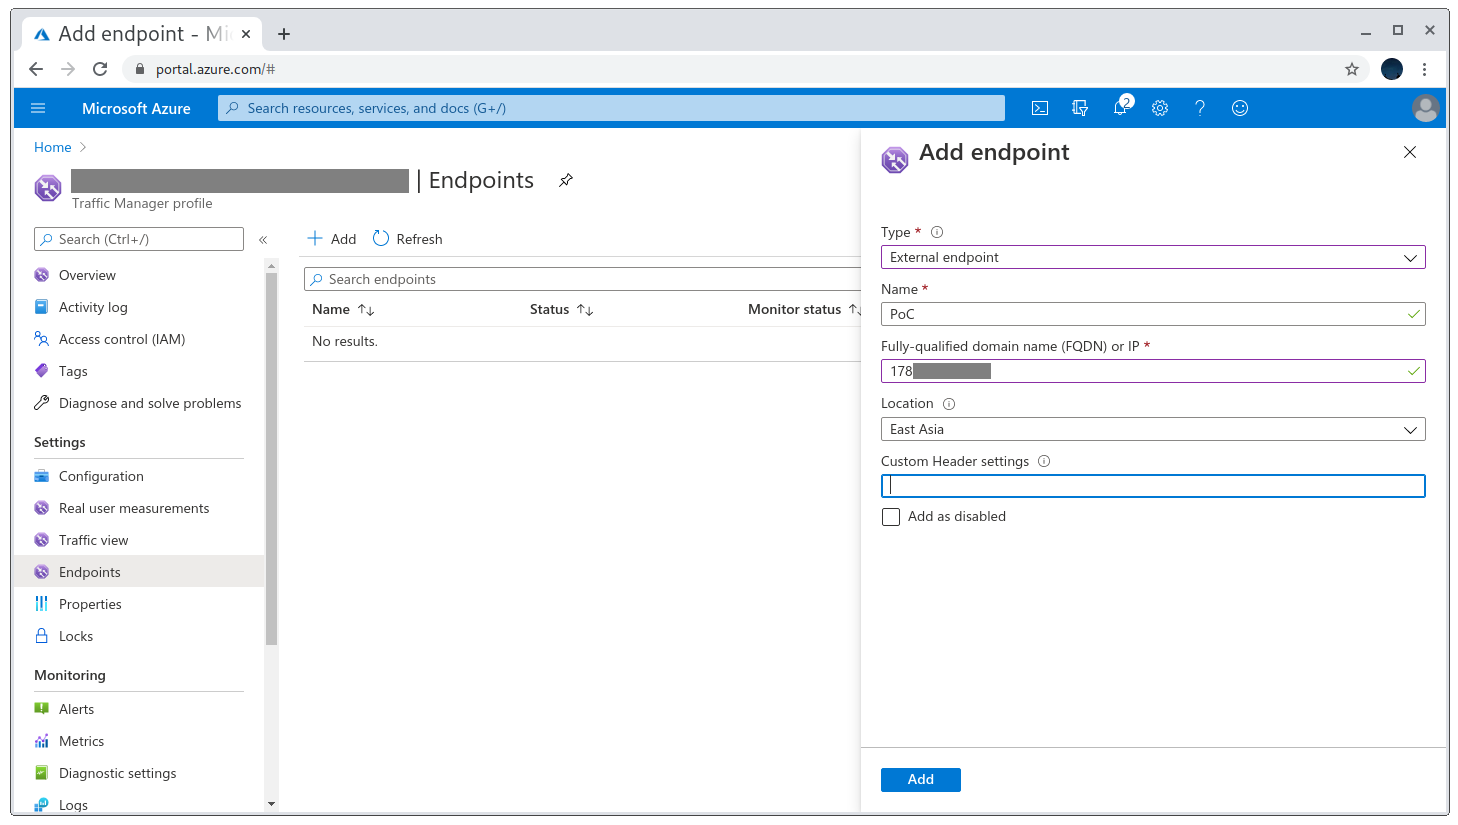
After it’s registered and active I went to the Endpoints section on the left-hand side menu. Here we can configure what we want to point the record to: an Azure instance or an external site. I went with the latter and pointed it to my VPS IP.
Creating an endpoint to my site
To confirm that it works I checked with dig.
Using dig to confirm the takeover
PoC creation
The last thing to do is to set up a web server that serves our PoC. It’s important to take into account that the requests will have the Host header of the vulnerable site. It’s because of that that many tutorials I saw online played with the Apache config to set up a new vhost. I didn’t want to install Apache and opted to go for a simpler approach using a NodeJS snippet.
1
2
3
4
5
6
7
8
http = require('http');

server = http.createServer(function(request, response) {
    response.writeHead(200, {'Content-Type': 'text/html'});
    response.write('PoC by GoDiego ("<a href=https://hackerone.com/diegobernal>https://hackerone.com/diegobernal</a>)');
    response.end();
});
server.listen(80);
Then I just ran it with nohup nodejs poc.js & and had a working PoC.
Working PoC
Takeaways
This is everything! I hope you learned something useful, I tried to include all the little details that made me spend a lot of time trying to figure out how things worked. Hopefully, this article will grow with time and I’ll add new PoCs so stay tuned!